Session replay is a useful support tool for understanding how users are interacting with your Android app. It also helps you debug and recreate issues.
To show how you to set it up with PostHog, this tutorial shows you how to create a basic Kotlin app, add PostHog, and enable session recordings.
1. Create a basic Android app
Our sample app will have two screens:
The first screen is a login screen with email and password text fields.
The second screen is a simple screen with welcome text and logout button.
The first step is to create a new app. Open Android Studio and create a new project. Select No Activity, name your project Android-Session-Replays, and use the defaults for everything else.
Then, navigate to the res directory and create a new directory layout in it. In res/layout, create two new layout resource files activity_login.xml and activity_welcome.xml. Add the following code to each file:
Next, we create our activities. In java/com.example.android_session_replays, create two new Kotlin files LoginActivity.kt and WelcomeActivity.kt. Add the following code to each file:
LoginActivity.kt
package com.example.android_session_replays
import android.content.Intent
import android.os.Bundle
import android.widget.Button
import android.widget.EditText
import androidx.appcompat.app.AppCompatActivity
class LoginActivity :AppCompatActivity(){
overridefunonCreate(savedInstanceState: Bundle?){
super.onCreate(savedInstanceState)
setContentView(R.layout.activity_login)
val email = findViewById<EditText>(R.id.email)
val password = findViewById<EditText>(R.id.password)
val loginButton = findViewById<Button>(R.id.loginButton)
loginButton.setOnClickListener{
val intent =Intent(this, WelcomeActivity::class.java)
startActivity(intent)
finish()
}
}
}
WelcomeActivity.kt
package com.example.android_session_replays
import android.content.Intent
import android.os.Bundle
import android.widget.Button
import androidx.appcompat.app.AppCompatActivity
class WelcomeActivity :AppCompatActivity(){
overridefunonCreate(savedInstanceState: Bundle?){
super.onCreate(savedInstanceState)
setContentView(R.layout.activity_welcome)
val logoutButton = findViewById<Button>(R.id.logoutButton)
logoutButton.setOnClickListener{
val intent =Intent(this, LoginActivity::class.java)
startActivity(intent)
finish()
}
}
}
Lastly, go to the manifests directory and add your new activities to AndroidManifest.xml:
Our basic set up is now complete. Build and run your app to see it in action.
2. Add PostHog to your app
First, add the PostHog Android SDK as a dependency in your Gradle Scripts/build.gradle.kts (Module: app) file. You can find the latest version on our GitHub.
Note: Session replay requires SDK version 3.4.0 or higher.
app/build.gradle
dependencies {
implementation("com.posthog:posthog-android:3.+")
//... other dependencies
}
Sync your project with your Gradle file changes.
Next, we create a Kotlin class where we can configure our PostHog instance. In the java/com.example.android_session_replays directory, add a new file MySessionReplaysApplication.kt and then add the following code:
We now need to register our custom application class. Go to app/manifests/AndroidManifest.xml and add android:name=".MySessionReplaysApplication" within the <application> tag:
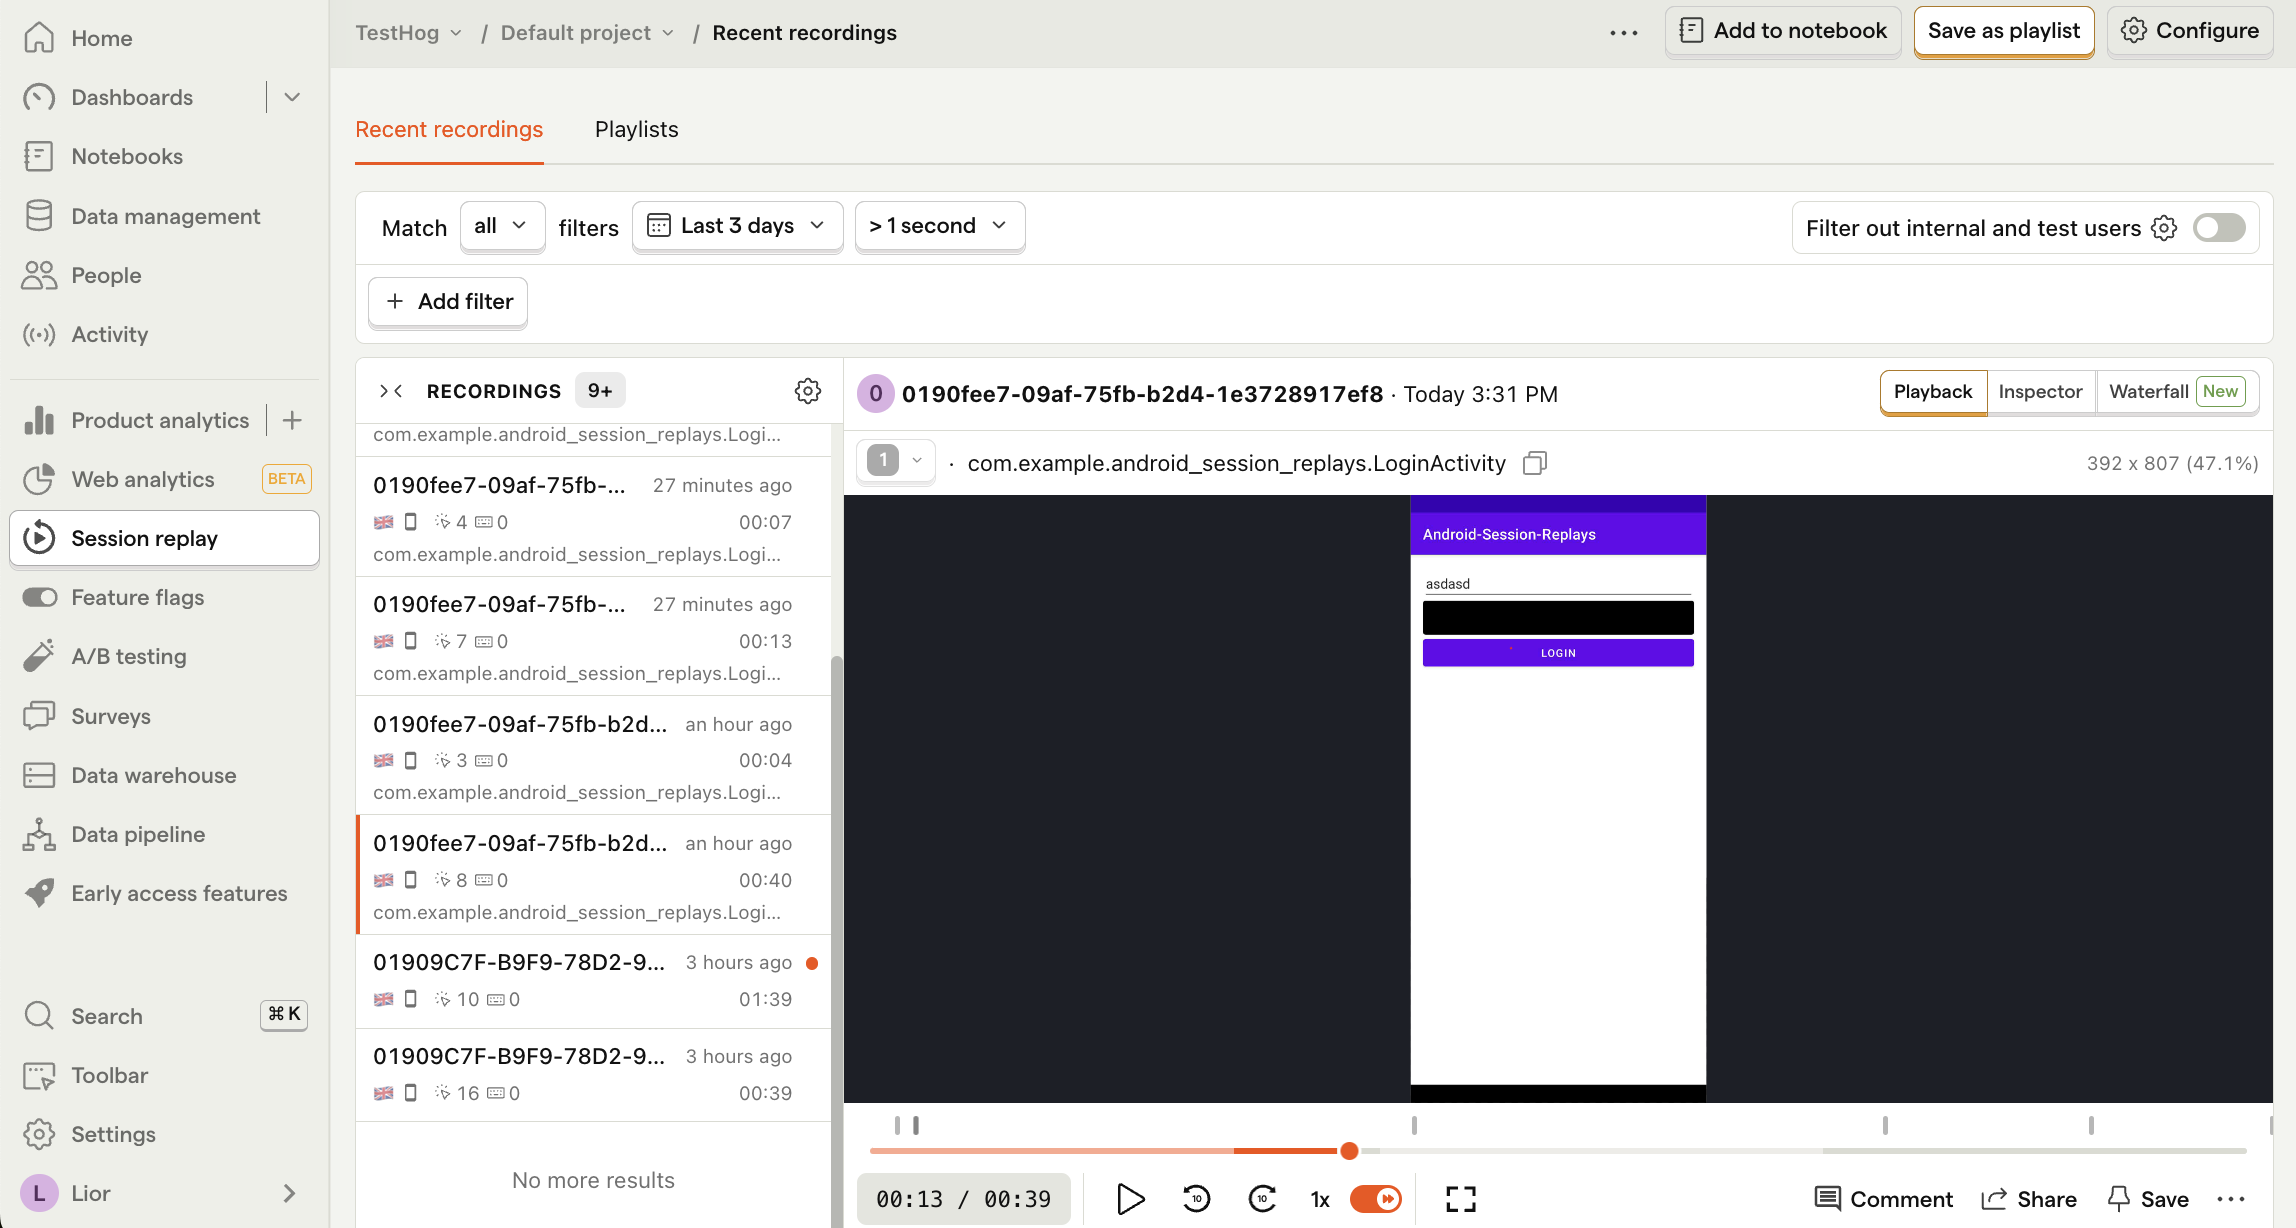
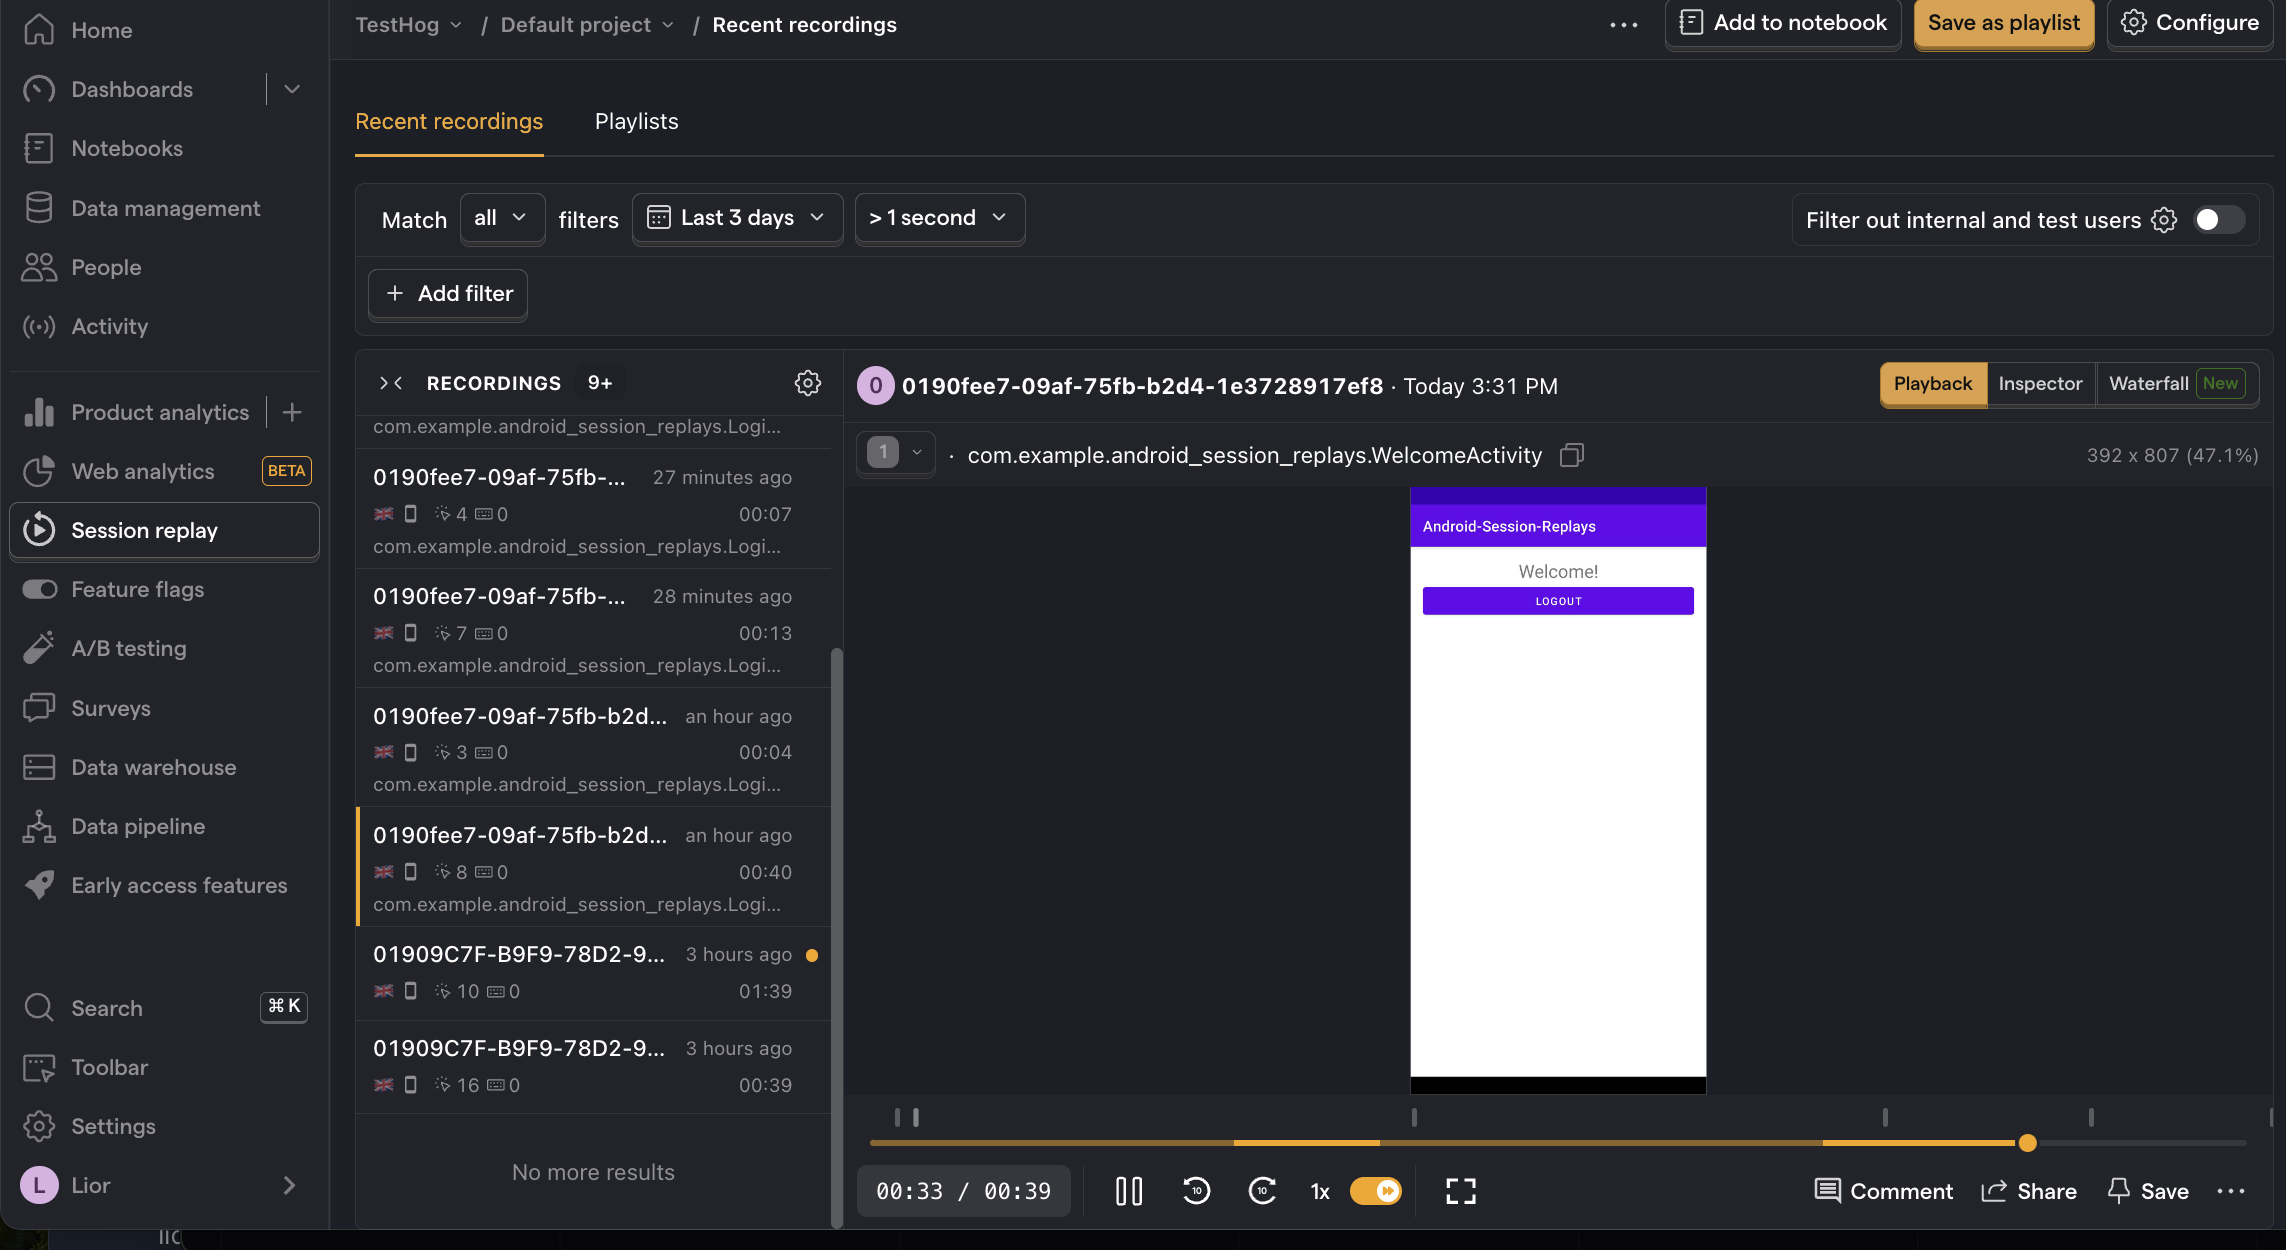
To check your setup, build and run your app a few times. Enter in any values in the text fields and click the Log in button. You should start session replays in the session replay tab in PostHog 🎉.
3. (Optional) Mask sensitive data
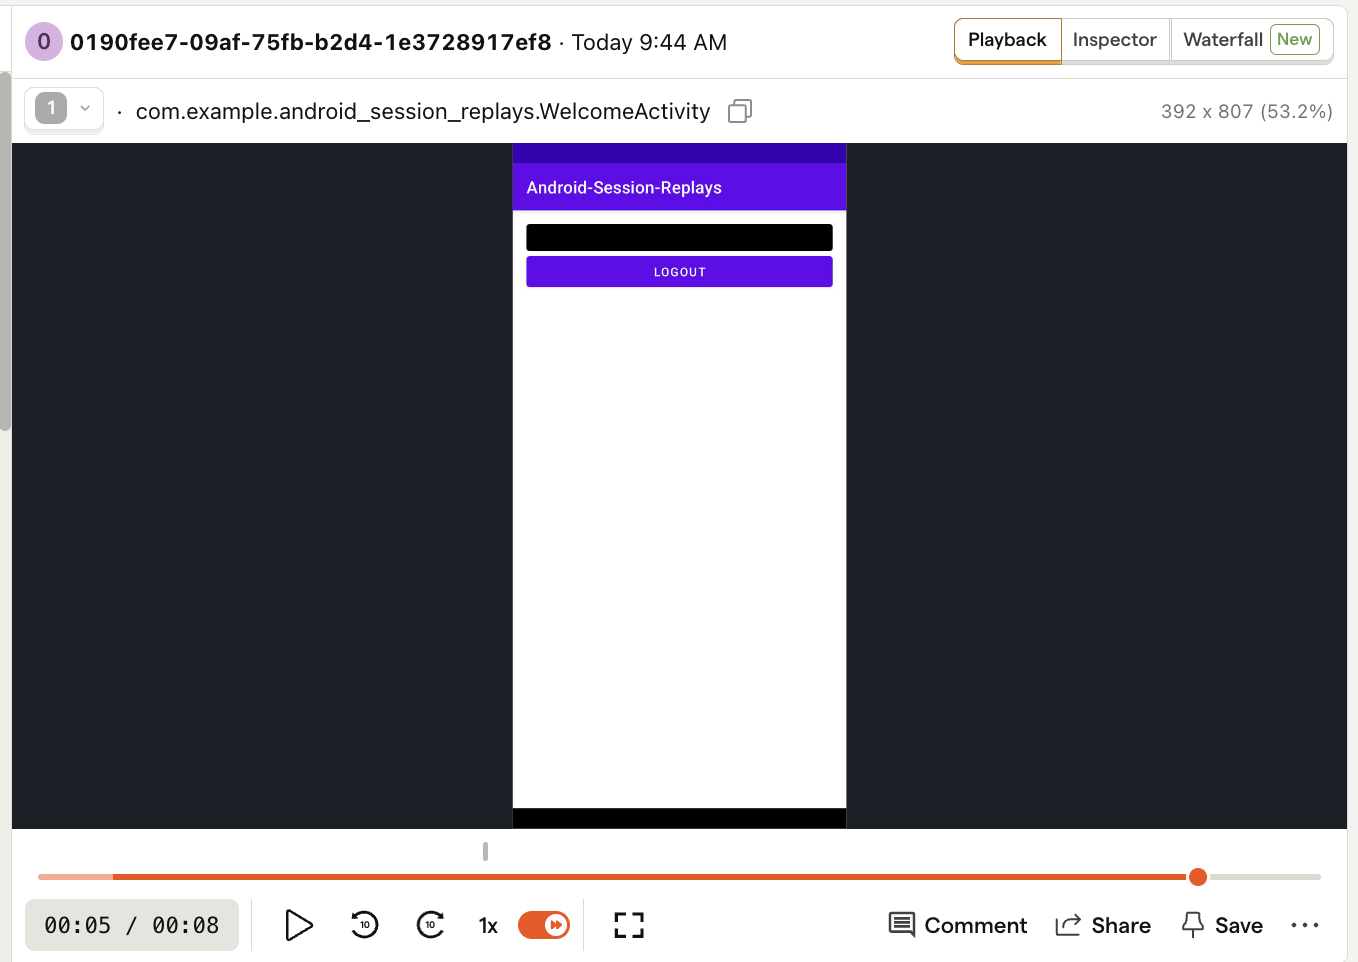
Your replays may contain sensitive information. For example, if you're building a banking app you may not want to capture how much money a user has in their account. PostHog tries to automatically mask sensitive data (like the password text field), but sometimes you need to do it manually.
To replace any type of View with a redacted version in the replay, set the tag to ph-no-capture.
The example below illustrates how to do this for the Welcome text in the second screen:
activity_welcome.xml
<!-- rest of your XML -->
<TextView
android:tag="ph-no-capture"
<!--restofyourXML-->
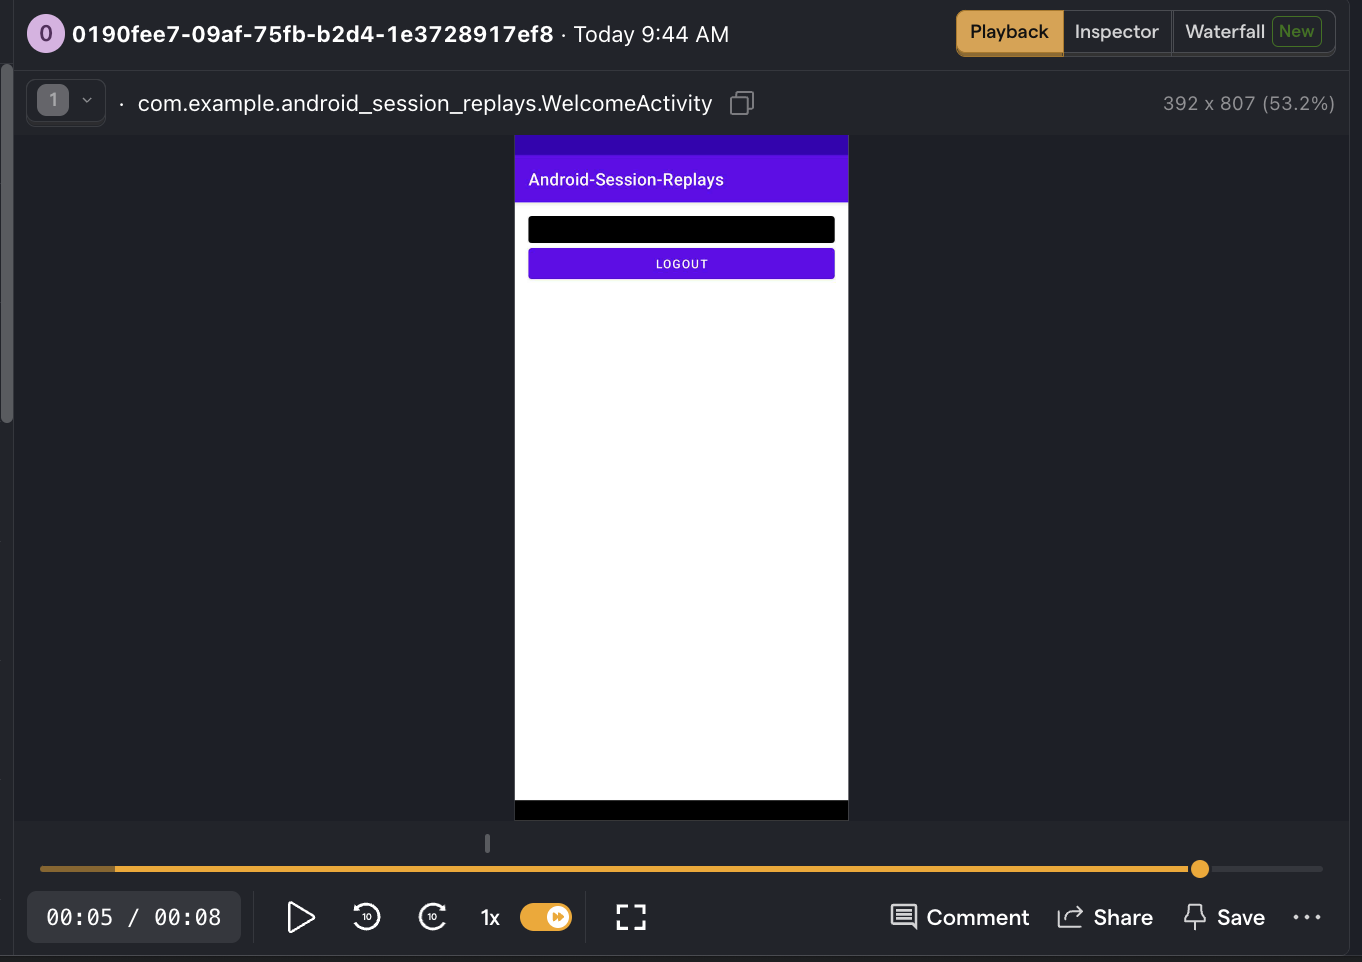
Now, the welcome messages shows up in replays like this: